BioOS installation document
1. BioOS ISO image download
Download BioOS ISO image files from an FTP site below (Clinomics.com).
- ftp://ftp.clinomics.com/Distribute/BioOS/
- ftp://ftp.clinomics.com/Distribute/BioOS/bioos20210729.iso (20210729)
- You can use gftp to download BioOS from Linux. As below:
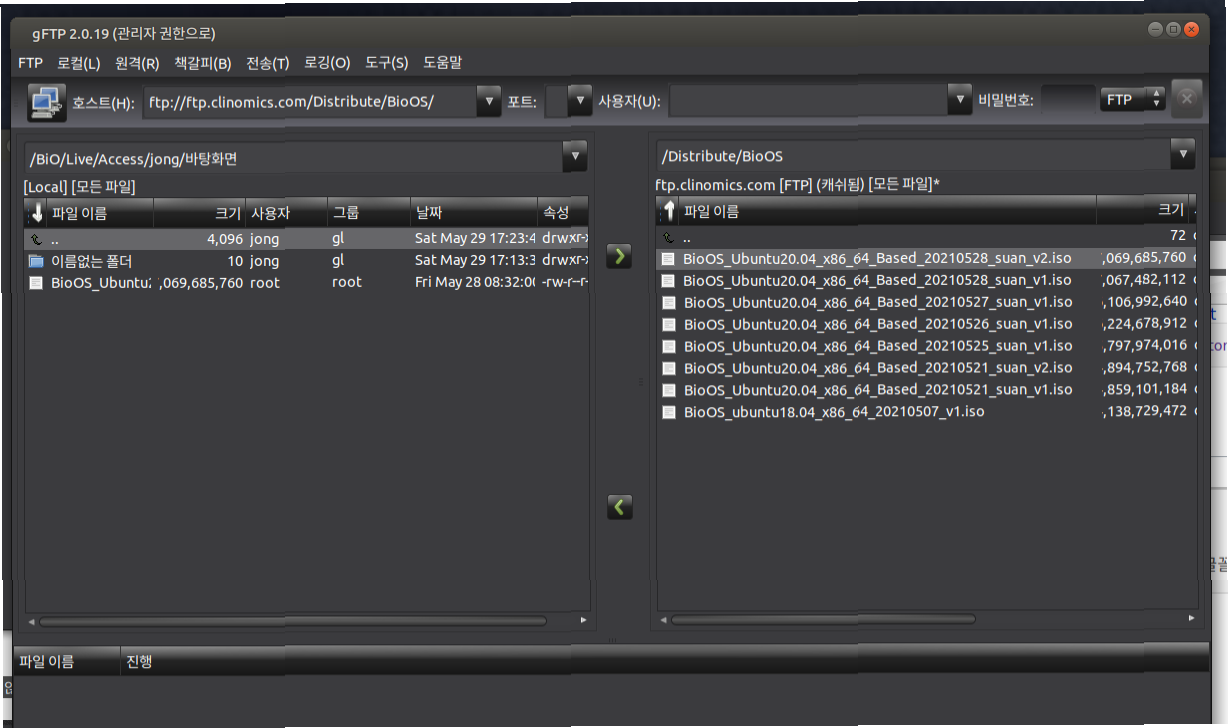
- BioOS's distribution update is listed here: https://bioos.org/Update_history
There, you can see BioOS download links
2. Bootable BioOS ISO USB making (Boot USB generation)
BioOS uses a big ISO image file (over 4.7GB). You need to use "woeusb" tool to make this bootable BioOS disk.
1) Under Ubuntu Linux: install woeusb package.
-> apt install coreutils util-linux gawk parted wget p7zip wimtools
-> wget https://raw.githubusercontent.com/WoeUSB/WoeUSB/master/sbin/woeusb
-> chmod 777 woeusb
-> mv ./woeusb /usr/local/bin
2) Move BioOS iso file to a Linux machine that has woeusb installed.
3) Insert a USB drive to the linux box where woeusb is installed. (16GB or larger usb disk is recommended)
- Run a command as below to make a BioOS USB.
- Check your USB device ID using "fdisk -l". You will see something like /dev/sdb1
- Run "umount /dev/sdb" to unmount your USB drive (as Linux will automatically mount it these days)
Also, use /dev/sdb instead of /dev/sdb1
-> woeusb --device /dev/sdX --target-filesystem ntfs
eg) -> woeusb --device /BiO/Live/Access/jong/BioOS_Ubuntu20.04_x86_64_Based_20210528_suan_v2.iso /dev/sdb --target-filesystem ntfs
- is the full path of BioOS.iso
- /dev/sdX is the USB device address. use fdisk -l to check this.
3. BioOSInstallation
Insert BioOS USB to a computer you like to use for BioOS.
(In your motherboard bios, set it to boot from USB drive first, if necessary. If USB drive does not work, check this boot sequence!)
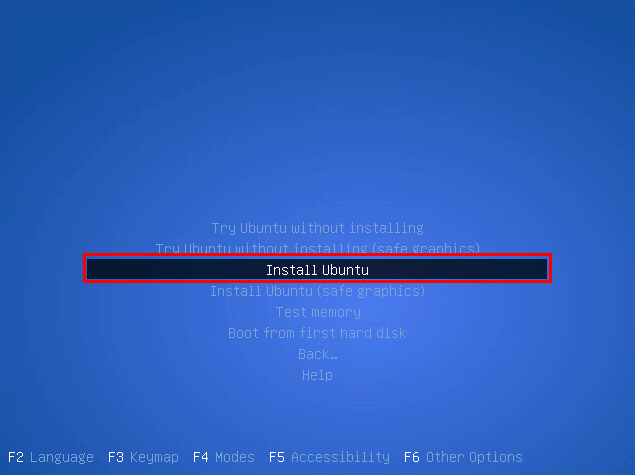
1) Choose Install Ubuntu (BioOS is based on Ubuntu currently. May 2021)
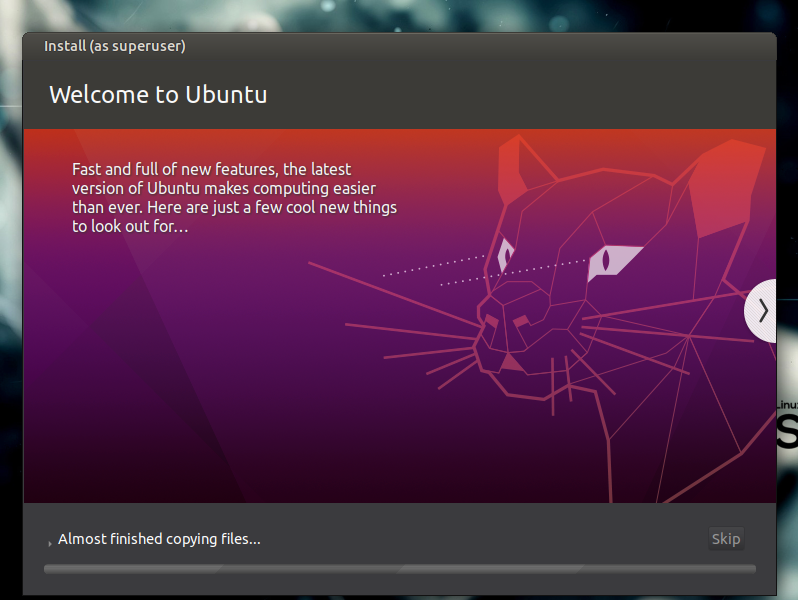
2) Wait until 100% installation is done.
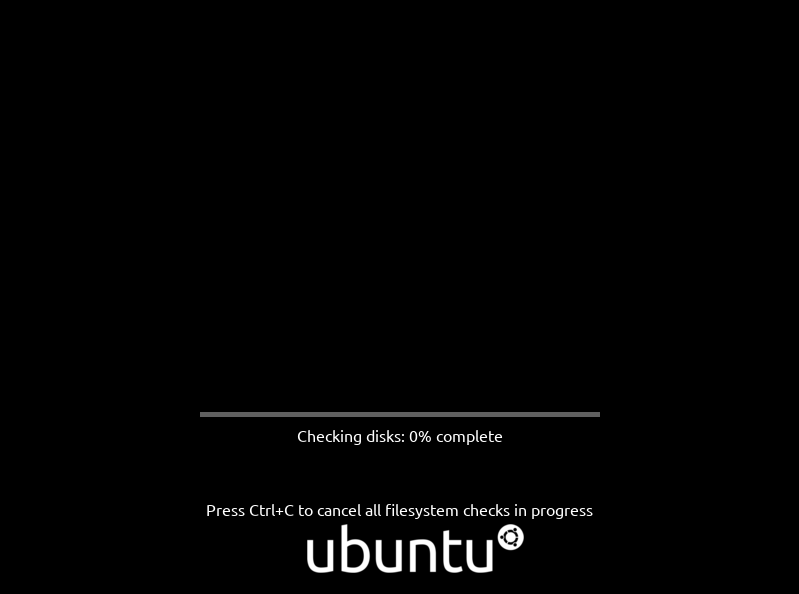
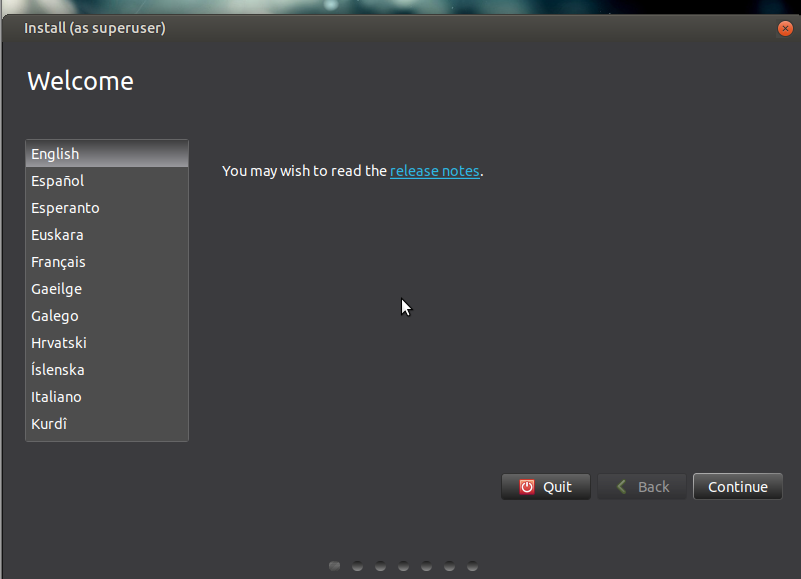
3) Choose language after filesystem check.
and press continue.
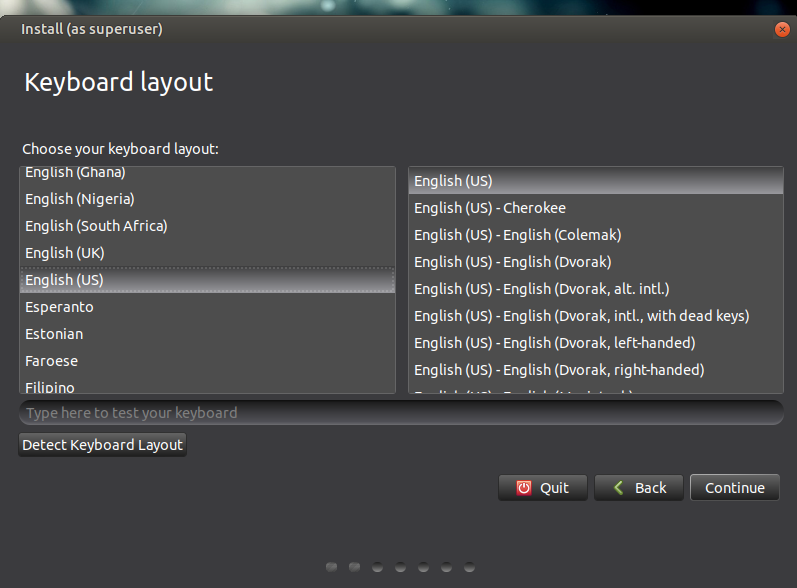
4) Choose your keyboard.
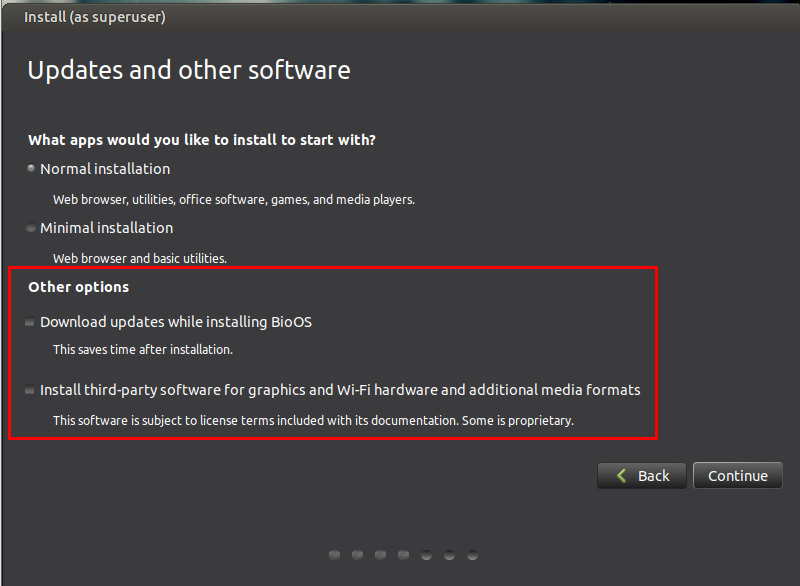
5) Choose Normal installation and then continue (choosing default)
All items in Other options are unchecked.
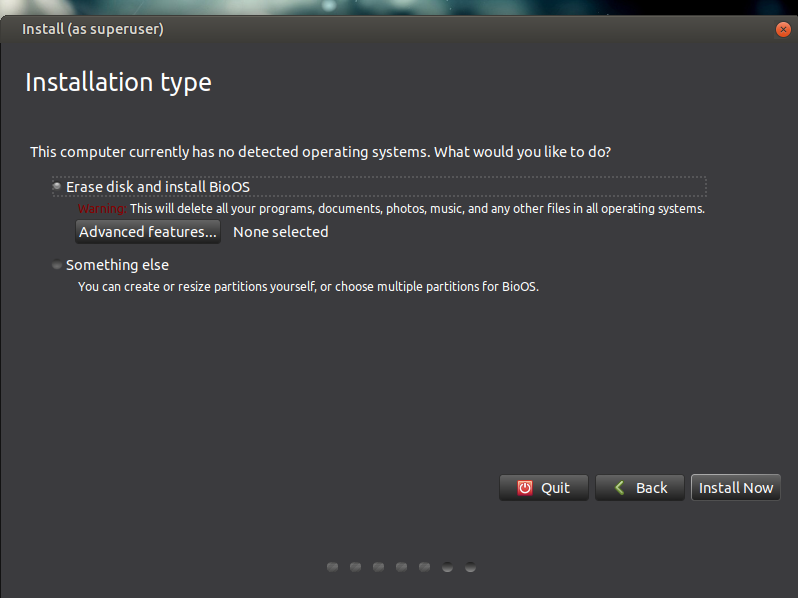
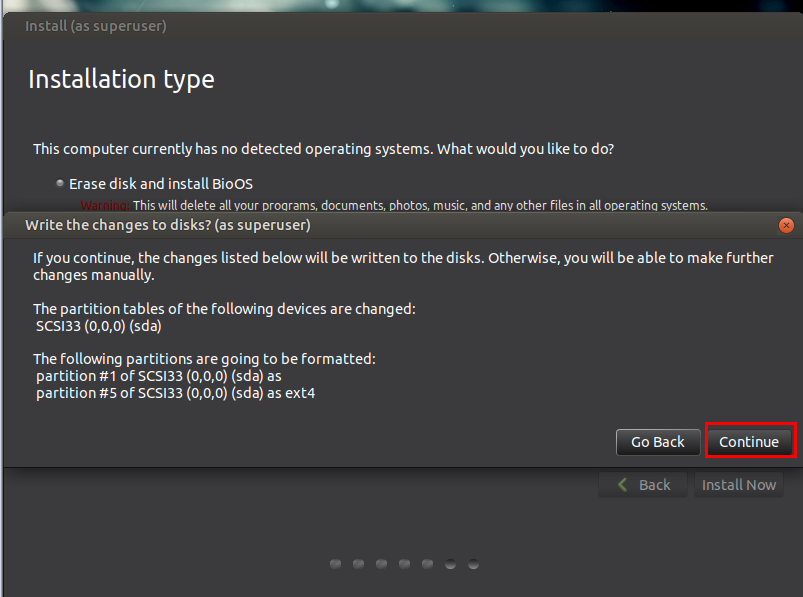
6) Choose Erase disk and install BioOS and then Install Now if this is the initial installation(usually the case)
If you want to do manual partitioning, choose Something else.
7) Choose your nation and Continue.

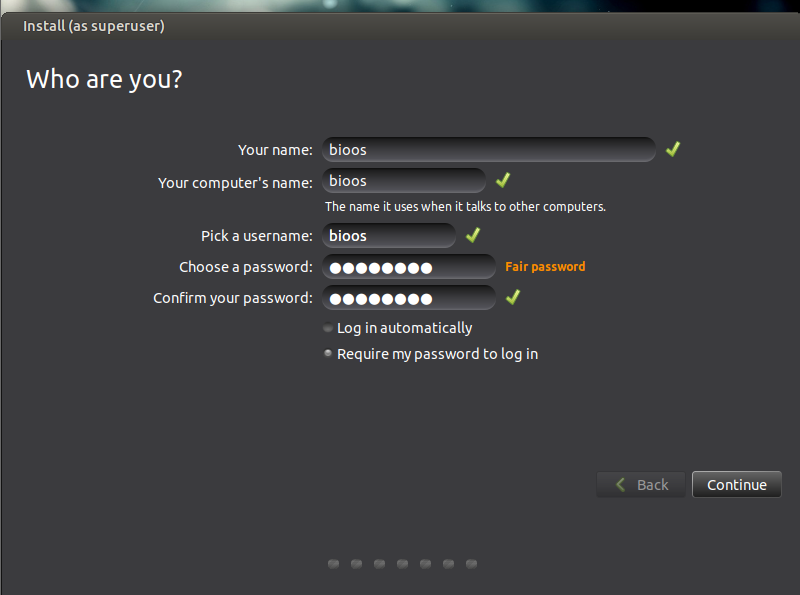
8) Choose hostname and sudo superuser information. Continue.
As a default, BioOS has bio account with the passwd of 7890uiop
For Koreans, bio account has Korean/English keyboard and Windows 10 theme.
- The default home folder of BioOS is /BiO/Live.
9) If you see this, reboot. BioOS is installed now.
10) Enjoy Science and Biology with BioOS. BioOS must be extremely buggy. Please help us by reporting
and fixing problems!
The SSH port of BioOS is 3030.
댓글 0